We have had 7 RV’s over the last 10 years and we have tried all sorts of different RV stabilizers. In this post we share our top picks based on trial and error plus experience (we’ve spent over 2500 nights in an RV!).
There are many different RV stabilizers out there, but if you want a really stable RV, you need to shore up 3 movements. First, use leveling jacks to remove any up and down motion. Second, camper stabilizers take care of side to side motion. Third, wheel chocks take care of back and forth motion.
To get a truly stable RV, I advise using a combination of these. This will give you a stabilizer system that will lock you in for a rock solid camping trip.
We traveled full time in our RV for over 8 years so if you are planning an RV trip or looking to move into your RV full time we have you covered when it comes to stabilizing your RV. Stabilizers are definitely a top 5th wheel accessory you don’t want to leave home without.
Table of Contents
Leveling Blocks
First thing to do is to get your RV as level as possible side to side when you’re parking it. This means you may have to use a set of Andersen Levelers or Camco blocks. This gets you in the best position to be level and stable in the end.
This will also take stress off your leveling jacks so they don’t have to bear all the weight of your rig when leveling. Be careful as to how much weight is put on your jacks as some can hold as little as 6000 pounds of weight capacity. Calculate it based on the rough weight of your rig divided by the number of jacks.
I also like to use jack pads under the leveling jacks. This helps from sinking into softer ground such as grass or sand. They also protect the concrete or asphalt driveway you might be on. These pads from Camco are great.
Leveling Jacks
Once you’re as level side to side as possible on blocks or wedges, you can deploy your jacks. For 5th wheel owners, that starts with your front landing gear. Lowering the landing gear also gets you unhooked from your truck.
Quick note on the difference between jacks and stabilizers as they’re both used in this article. Jacks are weight bearing components that are usually electric or hydraulic powered. Stabilizers are just used as a ground touch point to provide stabilization for your RV. Stabilizers cannot bear that much weight and you should never use them to lift your RV off the ground.
Another recommendation I have is to try to extend your leveling jacks as little as possible. Try to put some blocks of wood under your landing gear feet or scissor jack pads. More of the Camco blocks are great for this as well.
By extending the jacks as minimally as possible, you take out any play they may have when they’re extended. A solid block of wood is much more stable than fully extended jack.
From here, if you have an auto-leveling system, just hit the button and let it work it’s magic.
If you have to do it manually, then you know what to do. Raise or lower your landing gear/tongue jack until your unit is level front to back to complete the leveling process.
If you’re looking for either leveling blocks, jacks or even stabilizers, etrailer has a great selection for any type of RV. They have all the options that will get you level and stable for a great camping experience.
You can also add on stabilizing jacks or upgrade your existing ones if they aren’t quite right for your rig. All of these can be found on etrailer and with their excellent support videos, you’ll have them installed in no time and be sitting in a rock solid RV!
Click here for a ton of RV stabilizer options at etrailer.com!
Universal Stabilizers
Now you’re level both front to back and side to side, great! Next, deploy your universal stabilizers to stabilize your rig as much as possible. For 5th wheels, this usually means another set (or 2 sets) of jacks toward the rear of your RV. For travel trailers, this usually means scissor jacks.
Again, if you have auto level, the other jacks/stabilizers will deploy on their own and get set properly. If you have to do it manually, crank them down until they touch the ground, then maybe give it another turn or two. You don’t want to over do it as it will take you out of level as well as perhaps bear too much weight for that stabilizer.
If your 5th wheel trailer or camper doesn’t have the proper leveling jacks or they’re not functioning like they once did, you can replace them pretty easily as well. I’d recommend doing this if they are hard to deploy or retract as well as if they don’t seem to provide the lift they once did to get you level.
You can also use a less expensive option to add stabilizers to your RV that work similar to the factory ones. I’ve used these Camco Olympian Jacks on our last travel trailer and it helped quite a bit.
Now that you’re level and stable using the factory components, it’s time to use some of these amazing aftermarket products to really lock you in.
MORryde X-Brace
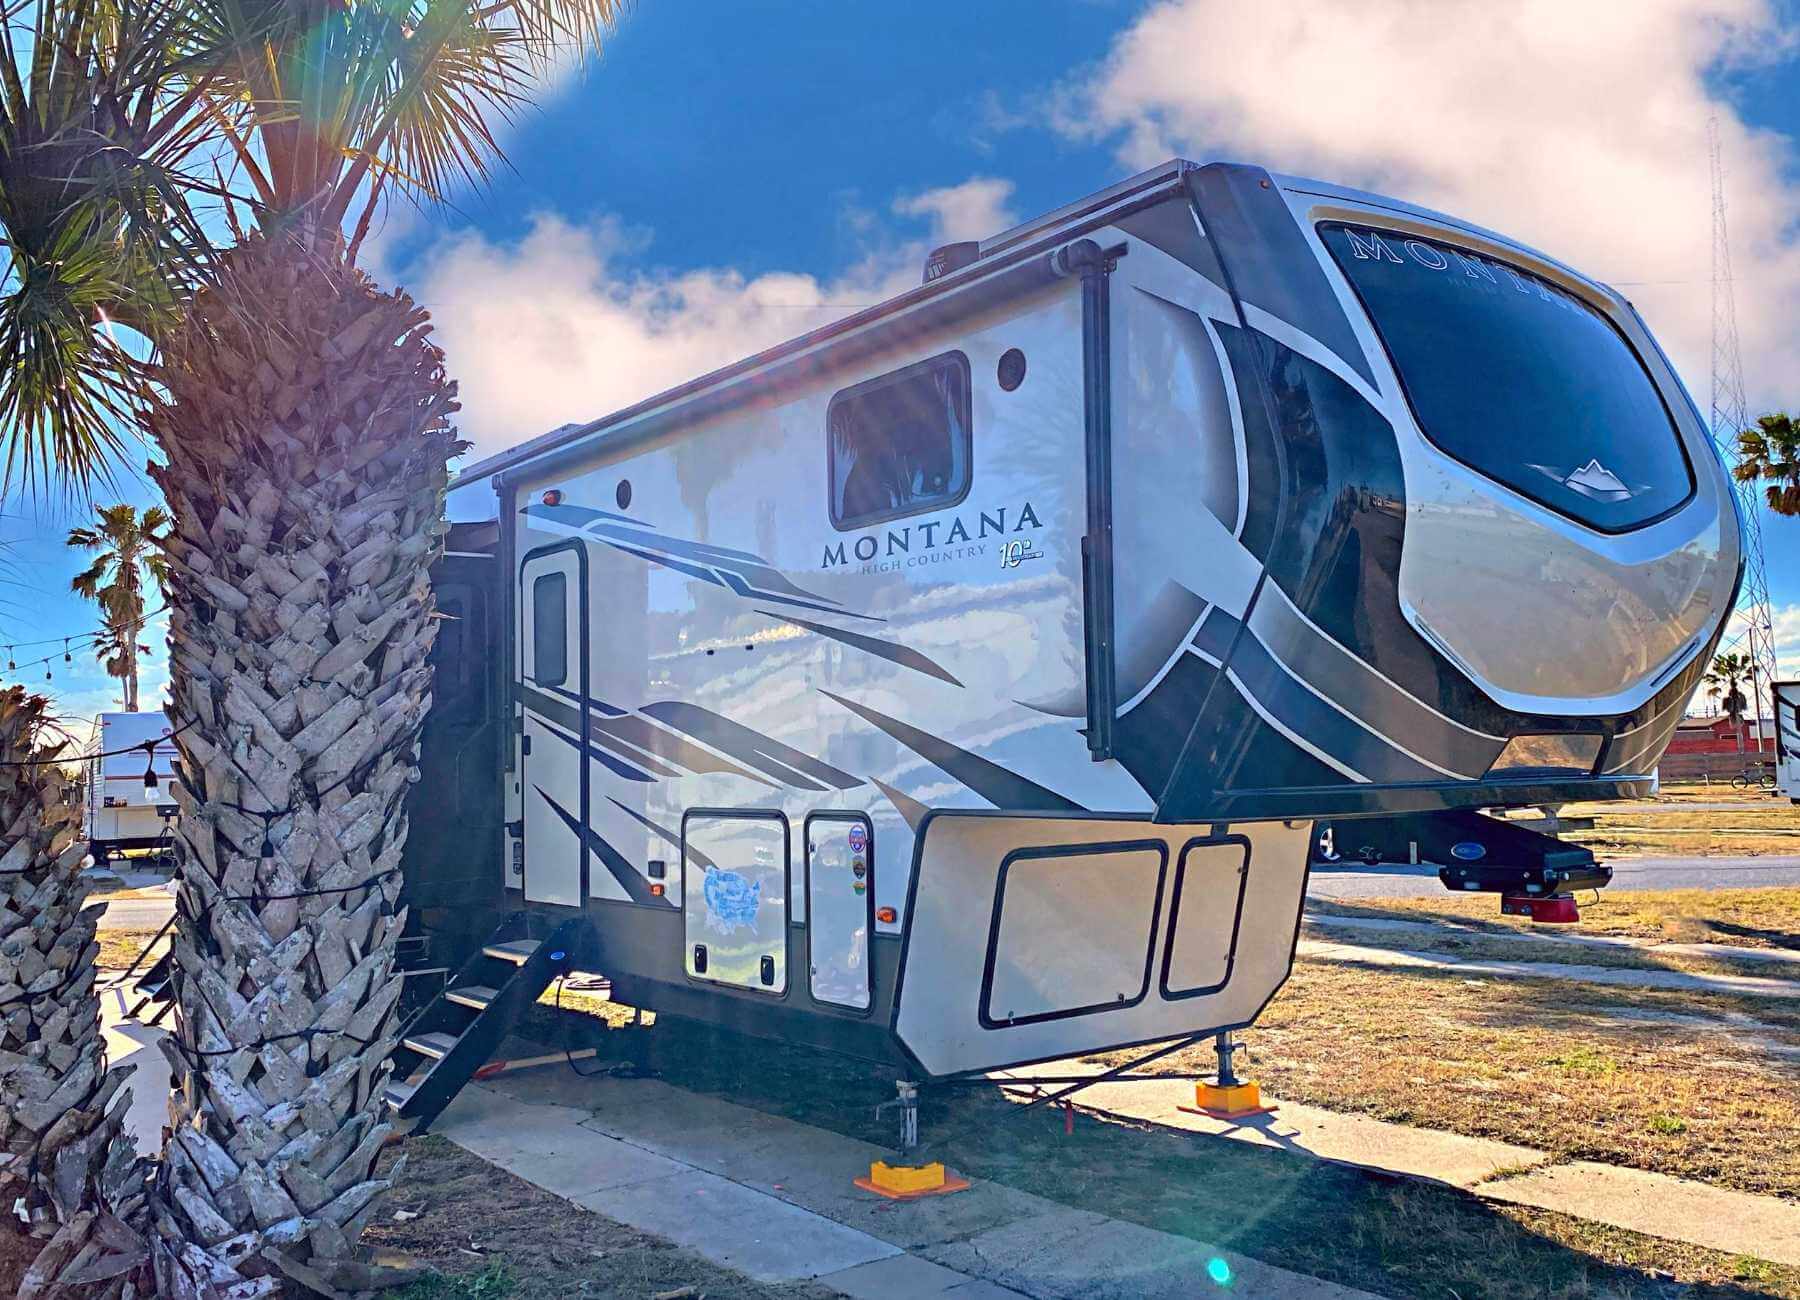
MORryde has a great stabilizing product called 5th Wheel Stabilizer that can be used on 5th wheels, travel trailers and even motorhomes. We recently partnered with MORryde to try these products out on our Montana High Country 5th wheel and after about 2 months using them, I think they are fantastic!
Check out our post on 31 RV Upgrades You Can’t Live Without!
The stabilizers include a couple different stabilizers that mount to your rig depending on what type of rig you have, as well as what type of stabilizers you currently have on it.
5th Wheel Stabilizer

This 5th Wheel Stabilizer mounts to the front landing gear of your 5th wheel. This stabilizer consists of 2 adjustable cross braces as well as the hardware to attach it to the landing gear.
The cross braces mount to the landing gear to form an X. After deploying the landing gear, simply insert a pin into the middle of each cross braces and turn them until they are both tight. This will lock out any side to side movements of your 5th wheel.
Installation is very easy, only requiring a few simple tools and the best part is, after you have installed it, they can remain on the rig even when not in use.
I mentioned needing to insert a pin into each cross brace. This pin is the only thing that needs to be removed when you’re ready to pull up the landing gear. Removing the pin allows the cross braces to retract into themselves as the landing gear goes up.
You’ll love having a stabilizer that remains permanently installed since it means you won’t have to take it out and set it up each time you get to a campsite.
Update: After 2 years of using the MORryde X-Brace, I can say this is a great upgrade to your stabilizing system. The X-Brace functions similarly to the JT Strongarm system, but at less than half the cost. The X-Brace alone won’t stabilize your entire rig, but adding this to a few other stabilizing products will really lock you in.
The ease of installation and the cost makes this product a no-brainer.
Scissor Jack Stabilizer

If you need travel trailer stabilizers, MORryde has the Scissor Jack Stabilizer. This works on the same concept as the X-Brace 5th Wheel Stabilizer as it mounts to the scissor jacks and crosses in the middle. This works on both the front and rear scissor jacks of a travel trailer.
Another similarity is that it can be left on the RV stabilizing jacks when they are not in use and you are traveling.
There are only a couple difference. First, they mount to the scissor jacks a little differently just because the jack is different. Same simple tools for the install though, basically a couple of wrenches.
Second, instead of the cross braces being round tubes that you twist to tighten, they are square braces that have a tensioning rod in the middle that is tightened using an extender tool.
Same simple concept, same great results.
Hitch Mount Stabilizer

MORRyde also has a Hitch Mount Stabilizer that inserts into a 2″ hitch receiver on the back of your trailer. The cool thing about this stabilizer is that you can also use on motorhomes that have a rear receiver.
The Hitch Mount Stabilizer works by extending 2 heavy duty legs to the ground in an A shape. Then, using the provided ratcheting strap, you hook into the 2 legs and tighten the strap. This pulls the 2 legs together to give another contact point with the ground that it super solid.
The nice thing is that this stabilizer is at the very rear of your trailer or motorhome and that is usually the most unstable part of the rig.
Storing During Travel
The Hitch Mount Stabilizer can stay remain on your vehicle as well when not in use, with a couple small tweaks. MORryde designed it to fold up-right when not in use and even has a small bracket that locks the 2 legs together in the up-right position.
When in this position, I bungeed a pool noodle around the feet of the legs so they don’t rub against the rear of my trailer while we drive down the road. I also use the ratcheting strap to tighten the legs to the rear of the trailer so they’re not bouncing around while driving. This also protects the stabilizer’s rust resistance powder coating by keeping it up and out of the way.
You can easily do this by hooking each end of the ratcheting strap to the safety hooks on the receiver hitch and wrapping it around the legs near the top. Then just tighten down the ratcheting strap (making sure the pool noodle stays in place) and you’re all set.
We’ve travelled over a thousand miles like this and it hasn’t budged or scratched the rear wall of our 5th wheel.
Using MORryde’s stabilizer products will really lock in any side to side and rocking motions that can make your rig feel unstable when you’re parked.
Update: After 2 years of use, this is also a great buy for a relatively low cost. I’d say this is a necessity for rigs that have more than 10 feet from the rear wheels to the back of the rig. It will take all the bounce that happens back there and eliminate it.
Installation is so easy and deploying it is just as easy. The only issue I had with this product is that we had a rear slide out, so I couldn’t extend the rear slide out unless the stabilizer was set up. Definitely not an issue with the product, just an issue with our set up in general.
Click here to check out 6 MORryde Products You Need For Your Rig!
5th Wheel King Pin Tripod
Travel trailers use the tongue jack for a couple of purposes. First, you use it to get it unhitched from the tow vehicle. Second, you also use it as a ground touch point to level the trailer front to back and provides some stabilization.
5th Wheels don’t have that front touch point as the first things that touch the ground for 5th wheels are the landing gear. The pin box is well off the ground and kind of just sitting there.
That’s where Camco’s Eaz Lift King Pin Tripod Stabilizer comes in. This tripod connects to the king pin and provides that front most touch point to help stabilize your 5th wheel.
X-Chocks
Another piece to stabilizing your RV is to take out any roll that may happen with the wheels. Even though you’re parked, your wheels may oscillate just a tiny bit due to the motion inside the trailer. That tiny bit of roll can feel amplified inside, so let’s take care of that problem.
To get rid of that, I use X-Chocks. These go in between your tires and have an extending X shape brace that locks the tires in together so they can’t rock or roll even the slightest bit.
You can install these in seconds by putting the retracted X-Chock in between your tires and using the ratcheting wrench that comes with the set to extend the stabilizer until it’s tight.
Removal is just as easy, just reversing the operation of the ratcheting wrench. Throw them in a storage bay and you’re good to go. You may also want to look for a storage bag to put them depending on where you have them stored.
I find adding a little grease to the stainless steel drive rod on the stabilizer as well as tightening the couple nuts on the chocks is a good maintenance routine every 6 months or so.
Check out our post: 8 Best RV Wheel Chocks And How To Pick Yours.
Slide Out Stabilizers
Ok, now you have your RV level and stable. The next thing you want to think about is stabilizing your slide outs. Anytime you have a section of your RV extended without touching the ground, you introduce more instability.
Camco has another product in their Eaz Lift line that does this. Their Heavy Duty Slide Out Support are super easy to install and provides additional support for your slide out. Now they’re supported from below and no longer just supported by your RV wall.
Best RV Stabilizer
There really isn’t a “best” option here. It really comes down to using a combination of the above products to really stabilize your rig.
There is definitely a trade off of how many things you want to set up and take down each time you go camping.
Get a feel for why your RV is unstable and where that may be coming from. Add the appropriate stabilizers to address that. Make it a process of elimination as well as a seeing what your limit is to how much you want to set up and take down each time you camp.
Camping in an unstable motorhome, travel trailer or 5th wheel can get pretty annoying. Hopefully these RV stabilizers will really shore up your rig making your next camping trip much more enjoyable!
More accessories, RV Content:
25 5th Wheel Accessories For The Ultimate Camping Experience
8 Best RV Wheel Chocks And How To Pick Yours
7 Best RV Roof Sealant Options
Pin it for later!
I have a bit of a sense of humor, and when others don’t find me funny, I always do.I don’t take myself too seriously and I love my family.That’s why we’re doing this 🙂
- 31 Amazing RV Upgrades You Can’t Live Without - July 9, 2024
- 8 Breathtaking THINGS TO DO Near Yellowstone National Park - May 22, 2024
- Utah National Parks Road Trip: All 5 Parks & More [Map Included] - May 11, 2024
DISCLOSURE: This post may contain affiliate links, meaning I get a commission if you decide to make a purchase through my links, at no cost to you. Please read my disclosure for more info.